
Under-Eave Starlink Mounting: A Clean Alternative to Roof Mounting
Learn why under-eave mounting is a popular option for brick and vinyl-sided homes, including its clean appearance, secure attachment, and roof-friendly placement.
What is an under-eave mount?
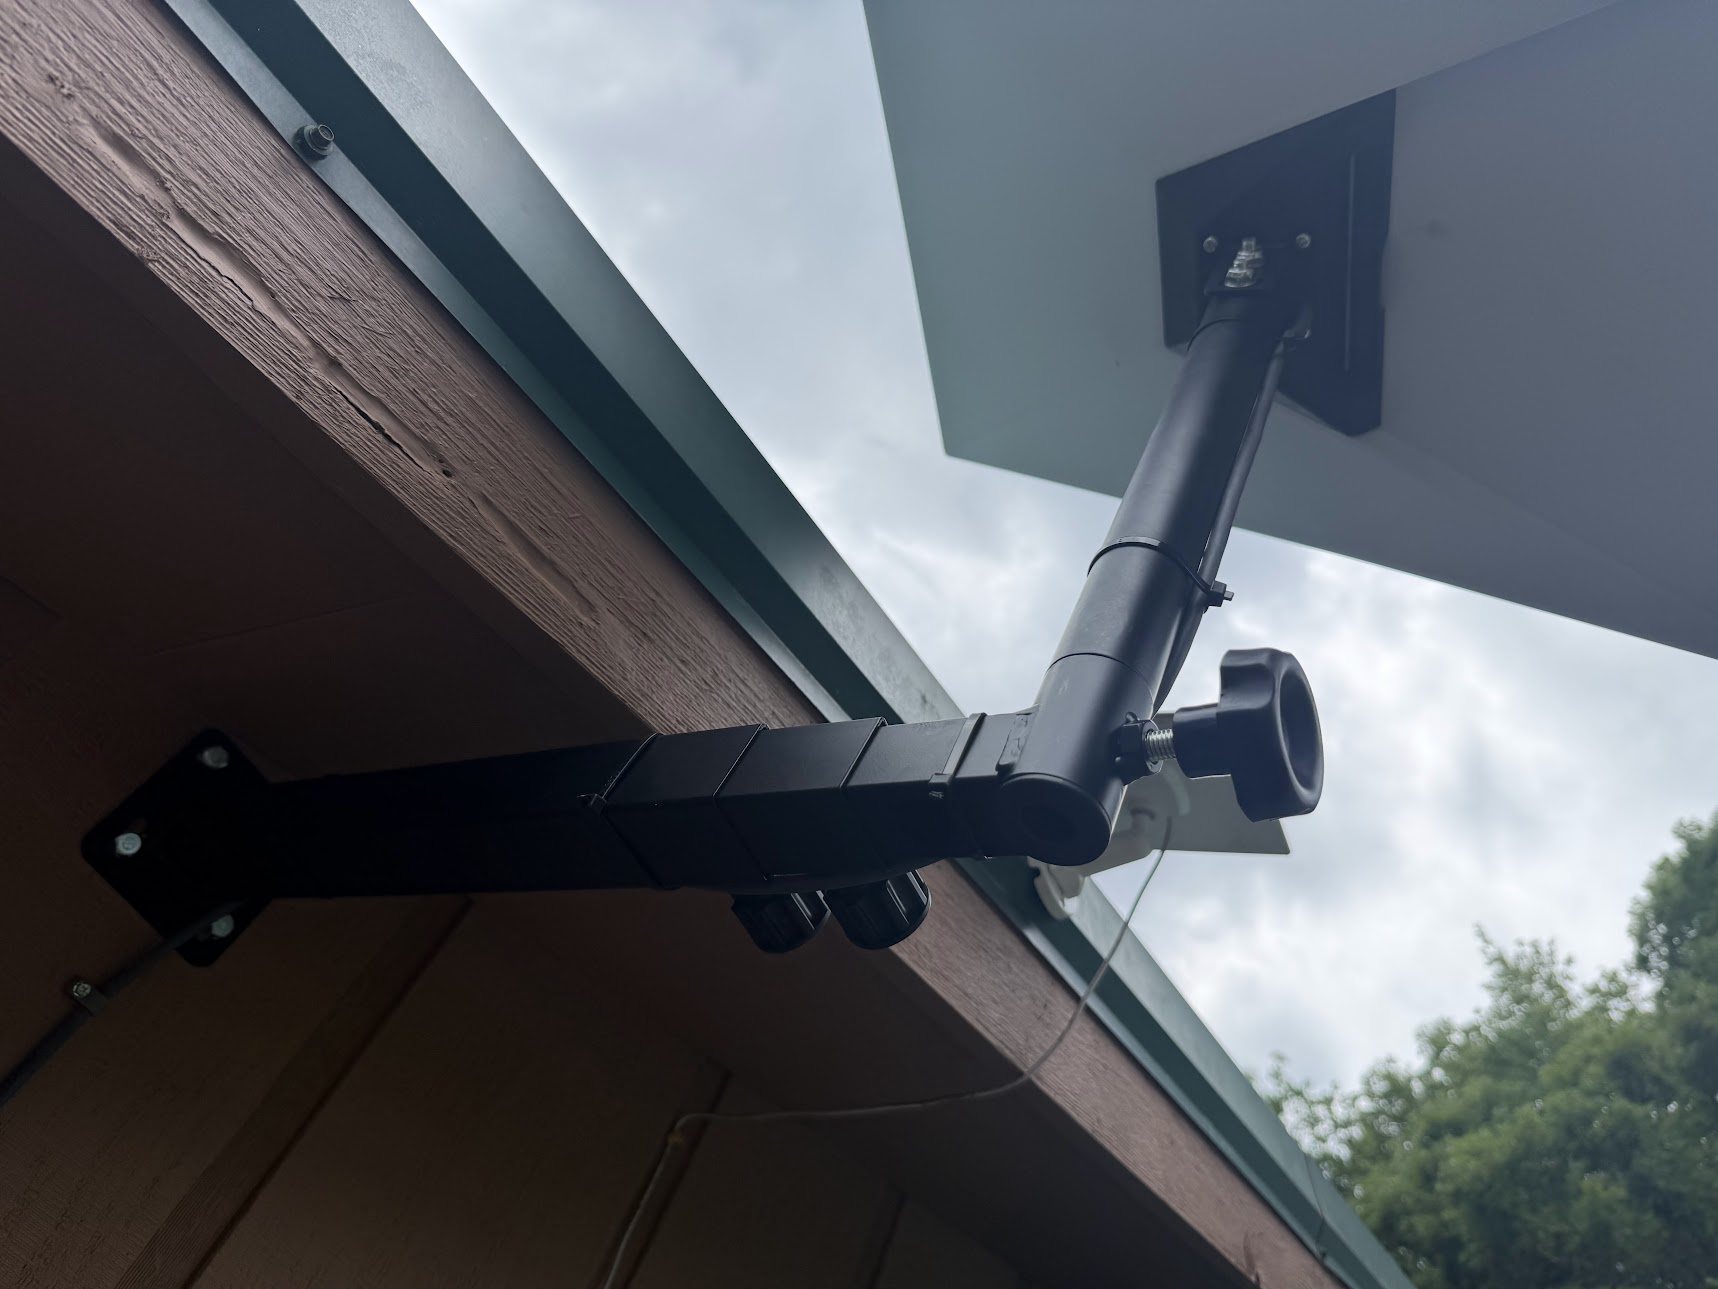
An under-eave installation places the Starlink dish on a side-mounted bracket just below the edge of the roof. The bracket extends outward far enough to give the dish room to operate while keeping the mounting base on the vertical side of the home instead of fastening it through the main roof surface.
This approach is often called an under-eave, wall, or J-mount installation. The exact bracket and extension depend on the depth of the roof overhang, the mounting surface, the dish model, and the amount of clearance needed for an unobstructed view of the sky.
The bracket extends beyond the roof overhang, and the spare cable is gathered beside the attachment. The required reach depends on the eave and the exact mount.
Installation and photo: Mann’s Starlink Contracting · View full photo ↗Why under-eave mounting is popular
Many homeowners prefer under-eave mounting because it can provide the height of a roof-area installation without placing mounting fasteners through the shingles. The hardware sits closer to the edge of the structure, where it may be less visually prominent and easier to reach than equipment installed high on the roof field.
It can be an especially attractive option when the selected side of the home already faces a clear portion of the sky. When the placement, bracket length, and cable route work together, the result can look like a deliberate part of the home rather than equipment added as an afterthought.
Secure attachment on brick homes
Brick can provide a strong mounting location when the masonry is sound and the correct anchors are used. The installer must evaluate the brick, mortar, edge distance, bracket loading, and condition of the wall before drilling. Fastener locations should be planned carefully rather than placed into cracked, loose, or deteriorated material.
A properly installed bracket spreads the load across its mounting points and holds the mast rigid against normal movement and wind. Penetrations are finished with exterior-rated sealing materials to help keep moisture out of the wall assembly.
How mounting works with vinyl siding
Vinyl siding is exterior cladding, not the structure that supports the dish. On a vinyl-sided home, the bracket must fasten through the siding into solid framing or appropriate structural backing behind it. Spacers, mounting blocks, or other installation methods may be needed so the bracket can be tightened securely without crushing or distorting the siding.
This distinction matters: the mount may appear to be bolted to the vinyl-covered side of the home, but the structural connection is made to the building behind the vinyl. A professional evaluation helps locate dependable attachment points and choose a finished method that respects how the siding expands, contracts, and sheds water.
Advantages compared with a roof-surface mount
The most obvious advantage is avoiding mounting penetrations through the main shingle field. That can reduce interference with future roof maintenance and may be more comfortable for homeowners who do not want equipment fastened directly through their roofing material.
Under-eave placement can also allow a clean exterior cable route. The cable may follow the trim, corner, or another planned vertical path toward the wall-entry point instead of traveling across shingles. Depending on the height and property layout, the dish may be more accessible for inspection or future service as well.
The overhang and sky view still matter
An under-eave mount is not right for every home. A deep overhang can block part of the dish's field of view unless the bracket extends far enough beyond it. Nearby roof peaks, chimneys, trees, and neighboring structures can also create obstructions. The wall must offer both a structurally sound attachment area and a usable view of the sky.
Longer extensions also create more leverage on the bracket and fasteners, making structural attachment even more important. The final location should be chosen only after checking sky visibility, required clearance, wind exposure, ladder access, cable length, and the condition of the mounting surface.
When under-eave mounting is a strong choice
Under-eave mounting is often a strong option when the home has sound brick or accessible framing behind vinyl siding, a clear sky view from one side, and enough room for the dish to extend beyond the roof edge. It is particularly useful for customers who want a permanent, professional installation while avoiding fasteners through the main roof surface.
The best result comes from treating the mount, cable route, wall entry, sealing, and router location as one complete plan. A site-specific review confirms whether an under-eave bracket will provide the clean appearance, structural security, and dependable visibility the installation needs.
See how this works on a real property.
Mann’s Starlink Contracting is Caleb Mann’s installation business. Caleb also created StarTether to help Starlink owners understand their connection. Mann’s serves an 11-state region from Campbellsville, Kentucky; confirm your address before scheduling.
Confirm with the official source.
Check the instructions for your exact kit, accessory, and service plan before making a hardware or account decision.
Starlink Help Center ↗Suggest a correctionRelated guides
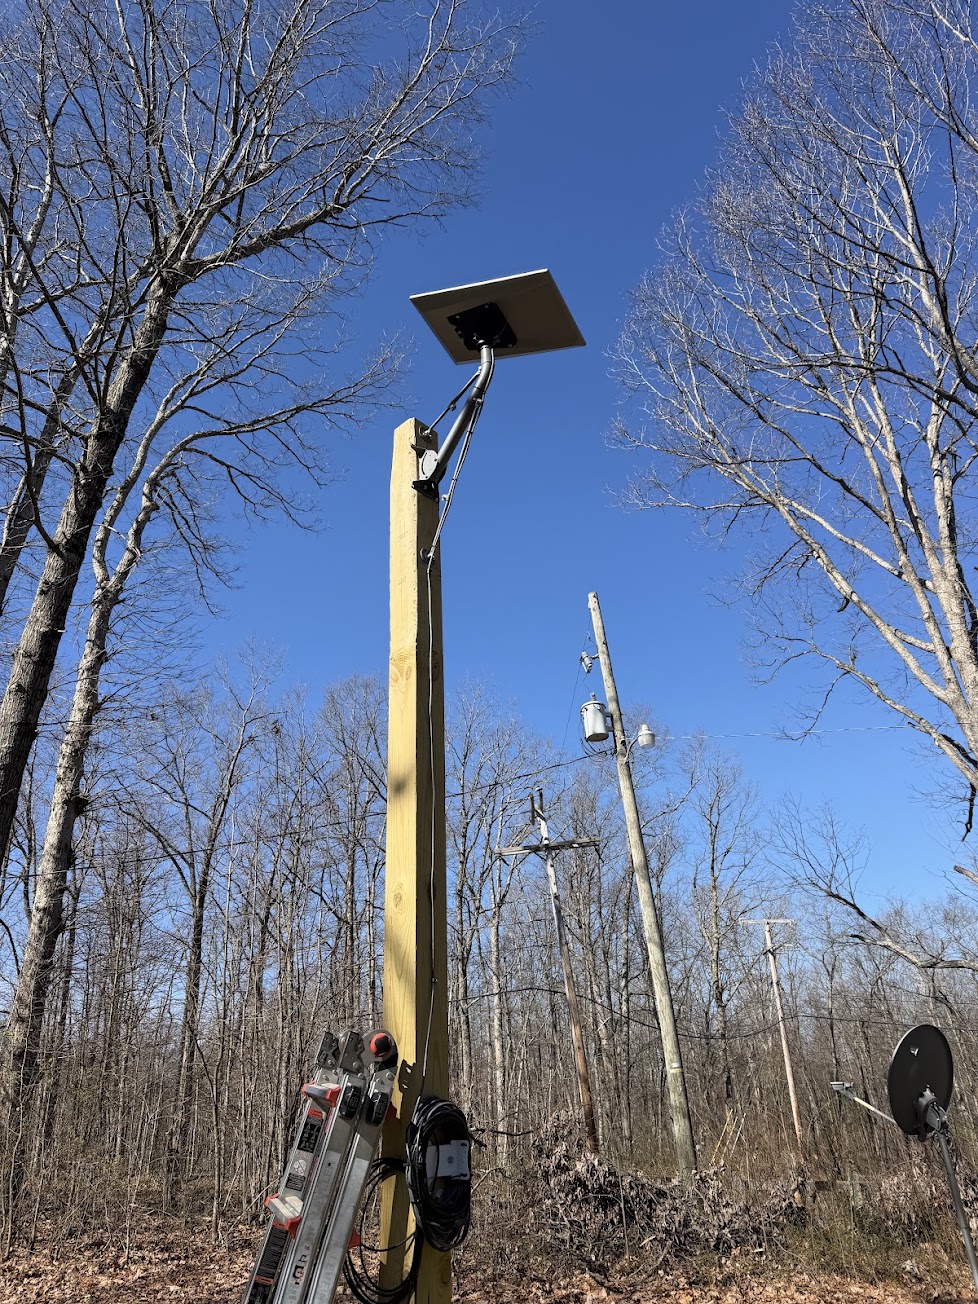
Ground-Pole Starlink Installations: Placement, Conduit, and Protection
Plan a durable ground-pole installation with clear placement, protected underground cable, and practical maintenance access.
2 MIN READ ↗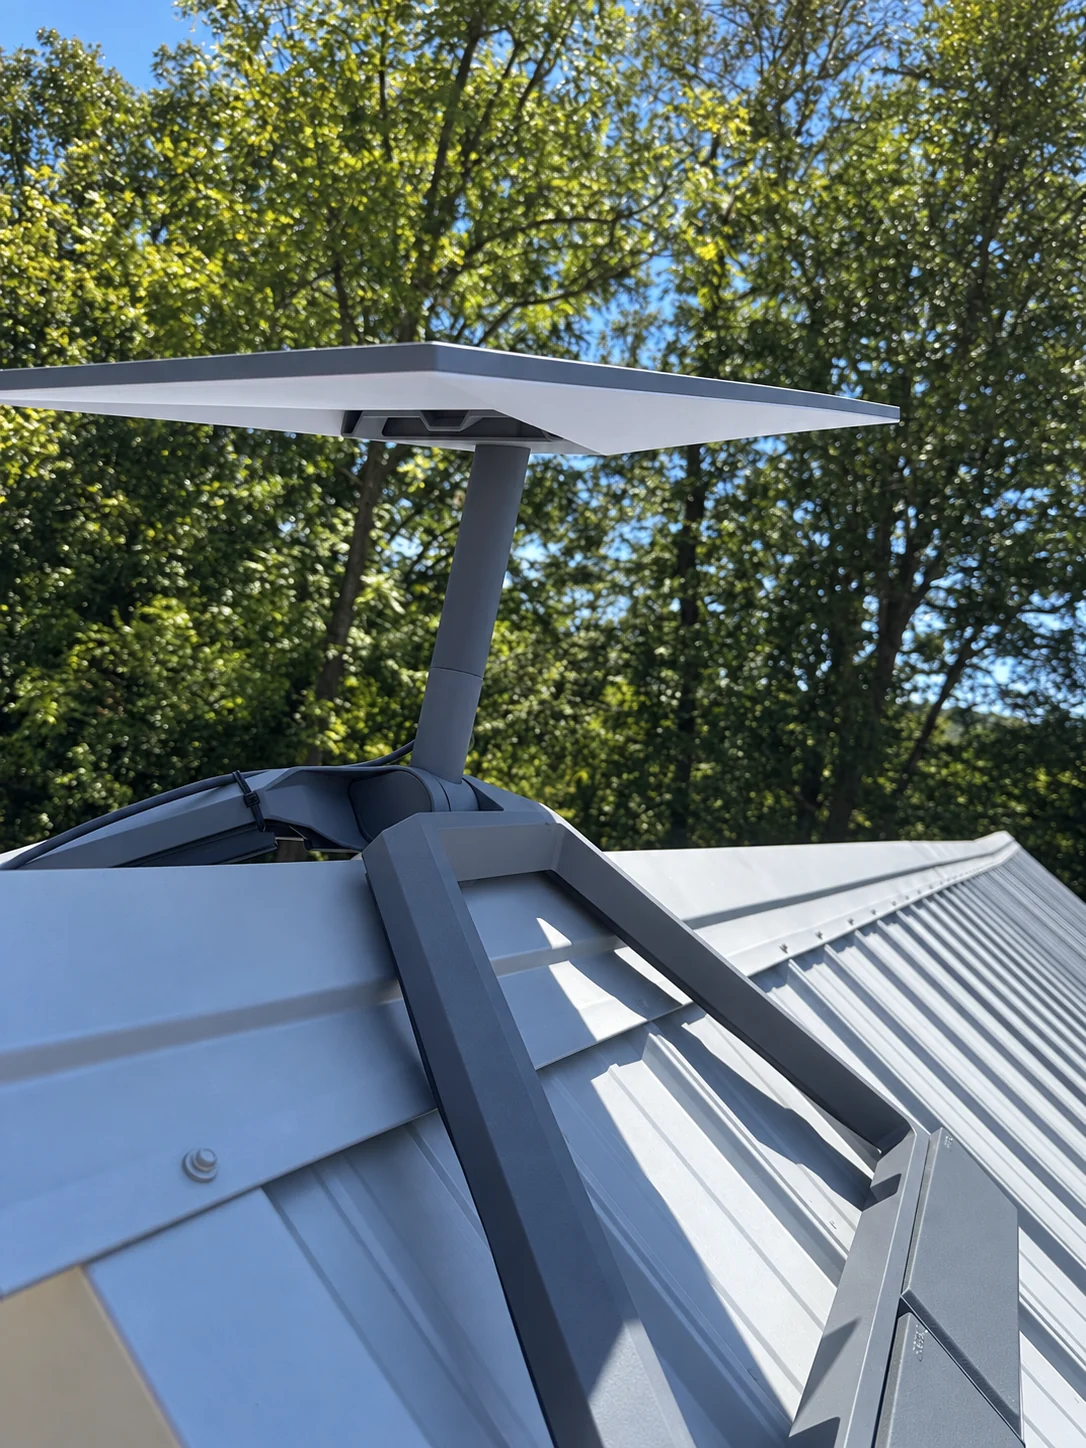
Starlink Mounting on Metal Roofs
Understand attachment, sealing, corrosion, cable protection, and non-penetrating considerations for metal-roof Starlink installations.
3 MIN READ ↗
Starlink Mounting on Mobile Homes and Manufactured Homes
Explore safe mounting and cable-routing considerations for mobile and manufactured homes without relying on thin exterior materials.
2 MIN READ ↗