
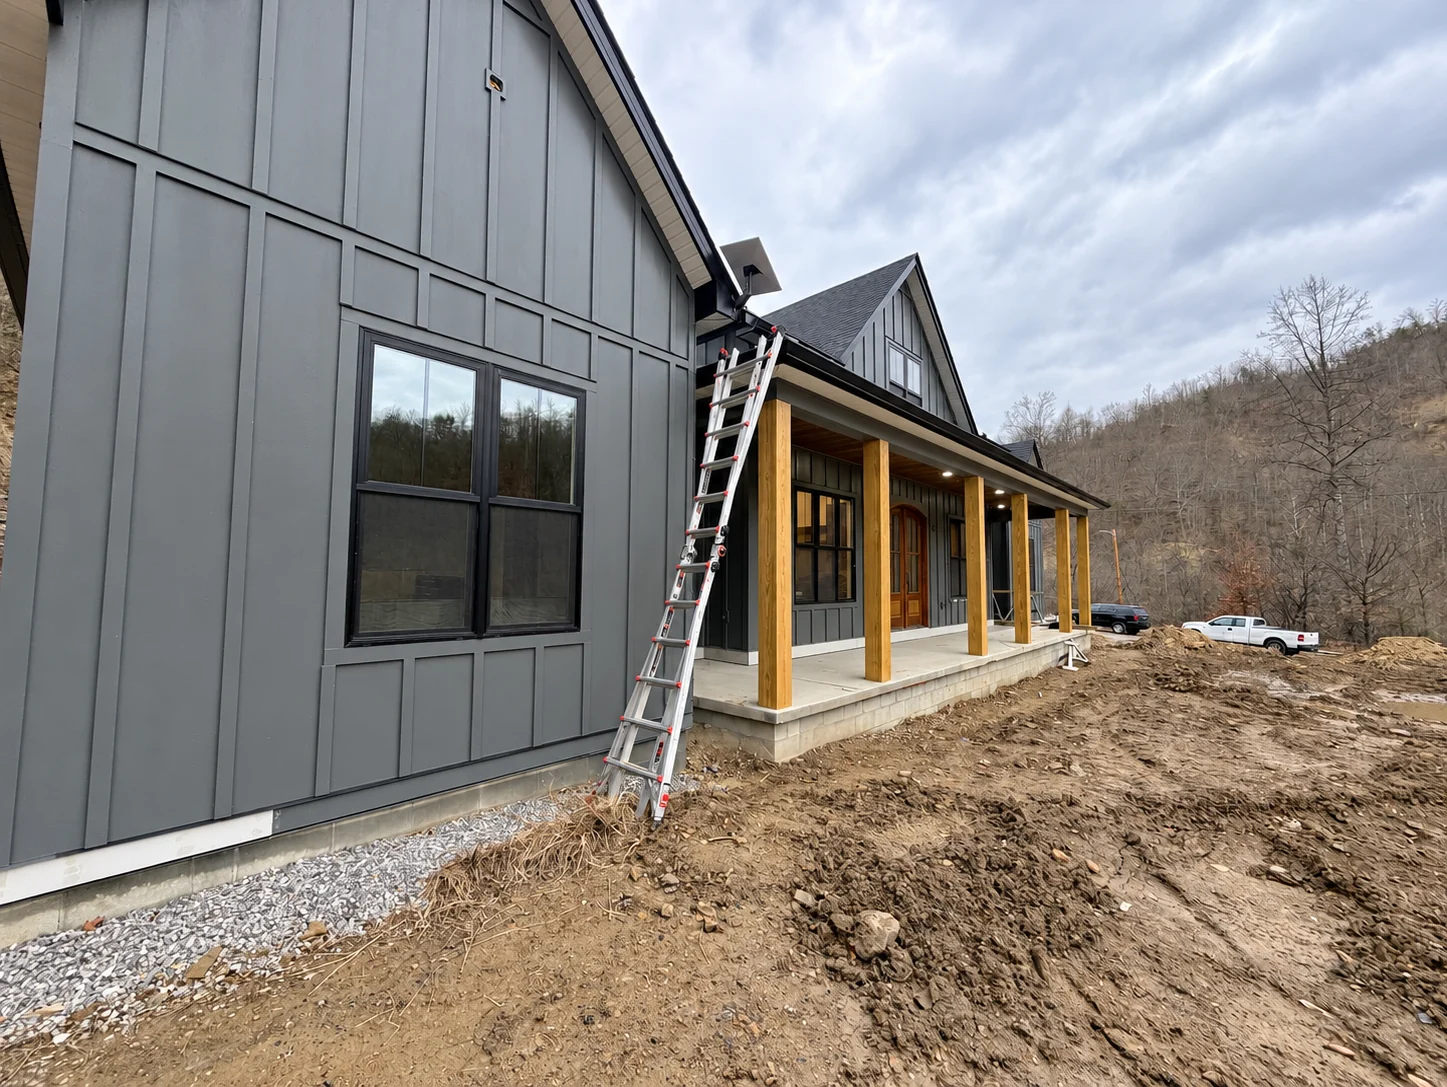
Starlink for New Construction: Planning Conduit, Power, and Router Placement
Coordinate the dish location, low-voltage pathway, wall entry, power, router, and network layout before a new home is enclosed.
Plan before framing disappears
New construction creates an opportunity to hide pathways, place power correctly, and choose a central network location. Once insulation, drywall, roofing, and finished siding are installed, the same route may require visible exterior cable or new penetrations. Include the Starlink plan during electrical and low-voltage coordination rather than treating it as a final appliance.
Choose a realistic exterior terminal zone
Reserve a mounting area with broad sky visibility, structural backing, safe access, and separation from chimneys, roof valleys, vents, and future tree growth. Mark more than one possible location when final obstruction conditions are uncertain. The highest roof point is not automatically best if it creates unsafe service access or an impractical cable path.
Design a usable low-voltage pathway
Provide conduit large enough for the actual factory connector, with gentle bends, limited total turns, accessible pull points, smooth bushings, and a pull string. Keep the route separate from line-voltage conductors as required. Do not assume a small tube suitable for bare cable will pass a molded Starlink connector.
A brush plate finishes the indoor cable opening beside the power outlet. This shows the interior finish; the outside entry needs its own weather seal.
Installation and photo: Mann’s Starlink Contracting · View full photo ↗Coordinate the exterior transition
Plan a weather-shedding entry, exterior drip loop, compatible seal, and serviceable transition between the outdoor cable and indoor pathway. Avoid roof drains, gutter discharge, standing water, sharp metal edges, and inaccessible sealed cavities. Photograph the open framing and conduit before walls close.
Place power and networking for the whole home
The router and power equipment need ventilation, accessible receptacles, and a location that supports Wi-Fi or wired distribution. A metal utility cabinet can weaken wireless coverage. For a large home, plan Ethernet to ceiling access points, offices, televisions, cameras, and detached-building links instead of expecting one router to overcome every wall.
The router sits on a cabinet in the living space. Use room-by-room testing to decide whether this location provides the coverage your household needs.
Installation and photo: Mann’s Starlink Contracting · View full photo ↗Verify before finishes are complete
Have the builder, electrician, low-voltage contractor, and Starlink installer agree on pathway ownership and termination. Pull-test the conduit, label both ends, save measurements and photographs, and keep access panels reachable. A final site review after the roof and trees are visible confirms the permanent mount.
See how this works on a real property.
Mann’s Starlink Contracting is Caleb Mann’s installation business. Caleb also created StarTether to help Starlink owners understand their connection. Mann’s serves an 11-state region from Campbellsville, Kentucky; confirm your address before scheduling.
Confirm with the official source.
Check the instructions for your exact kit, accessory, and service plan before making a hardware or account decision.
Starlink Help Center ↗Suggest a correctionRelated guides
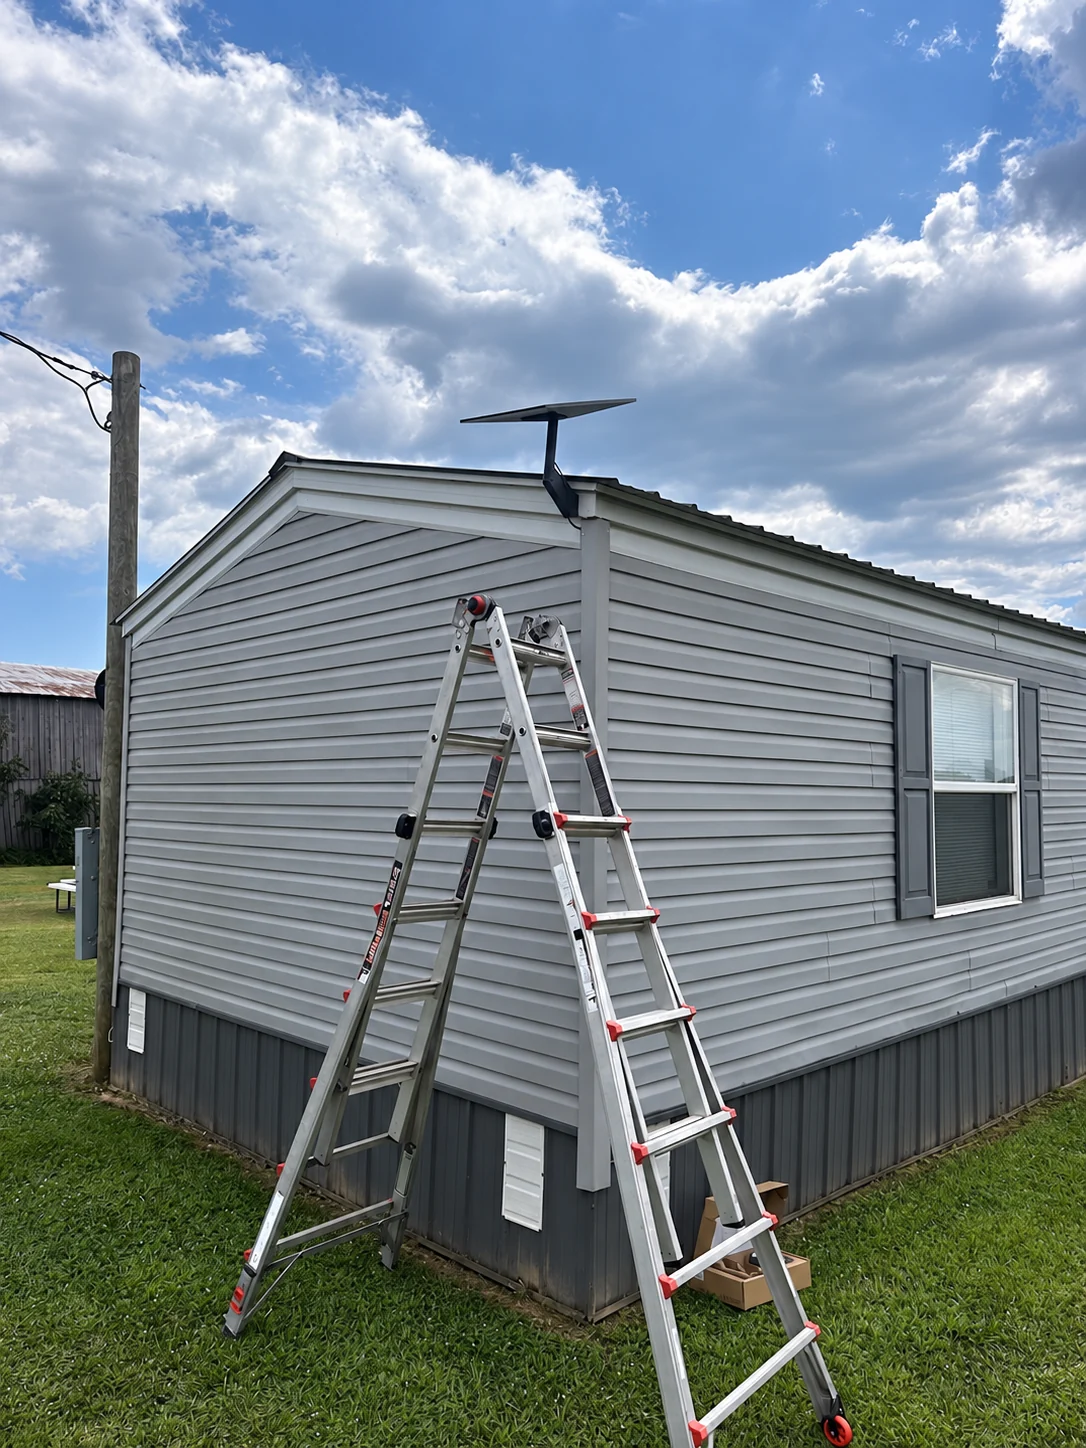
Starlink Installation for Renters and Landlord-Owned Properties
Plan written permission, reversible mounting, cable entry, equipment ownership, service responsibility, and removal before installing at a rental.
2 MIN READ ↗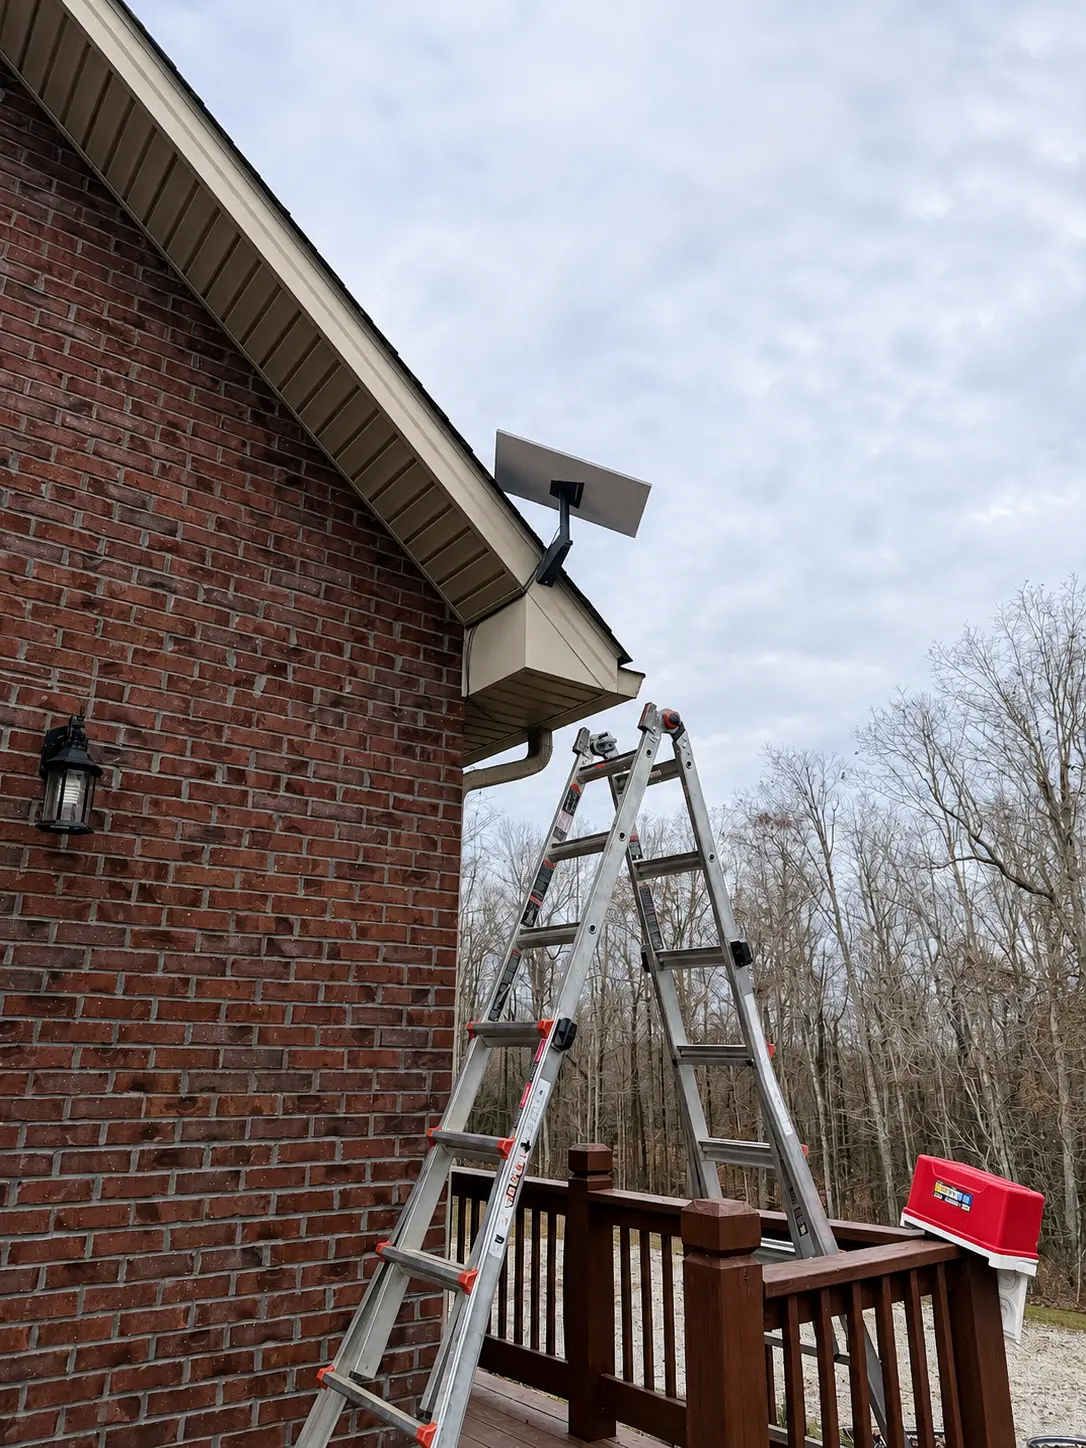
Painting or Repairing a Home Exterior Around Starlink Equipment
Protect the dish, mount, cable, connectors, labels, entry seal, and service performance during exterior painting or repair.
2 MIN READ ↗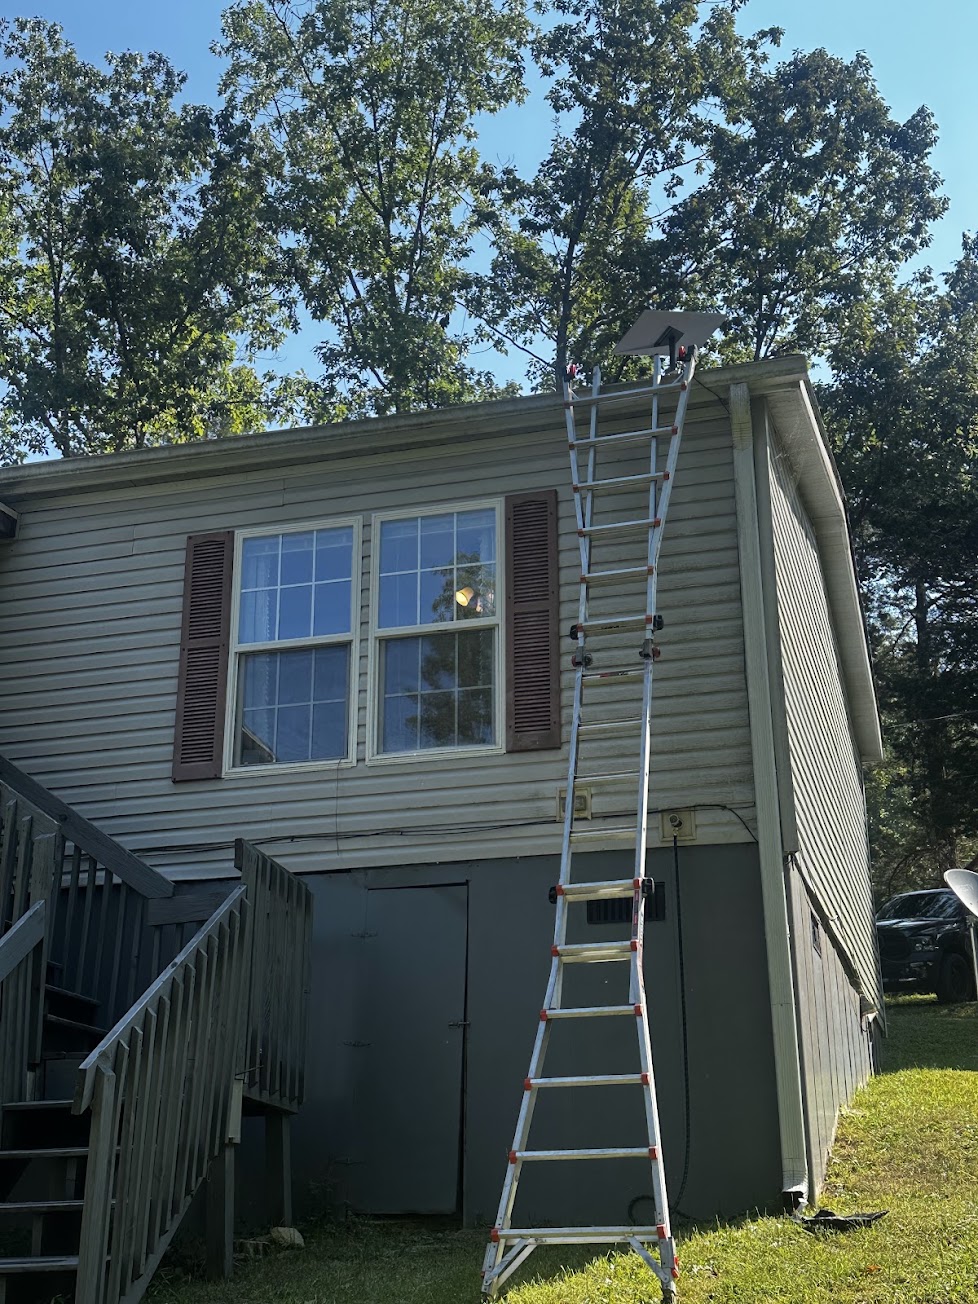
Moving a Starlink Dish After Trees or Structures Change
Reevaluate obstructions, seasonal growth, cable length, mount condition, and router placement when the property changes around an installation.
2 MIN READ ↗