

Should Starlink Be Removed Before Siding Replacement?
Protect wall mounts, cable supports, entry seals, and hidden structure when replacing siding around an existing Starlink installation.
Siding work can disturb the complete installation
A wall or under-eave dish may be directly attached near siding, while even a roof-mounted dish can have cable clips and a wall entry across the exterior. Removing panels around mounted hardware can bend brackets, crush cable, expose holes, and break weather seals.
Review the contractor's work area
Walk the elevation with the siding contractor and identify the mount, structural attachment, clips, drip loop, pass-through, grounding or surge equipment when present, and interior cable destination. Determine which items must be removed and who is responsible for temporary weather protection.
Do not mount permanent hardware to decorative cladding alone
New vinyl, fiber cement, wood, or composite siding changes thickness and attachment details but usually should not carry the dish's wind load by itself. Reinstallation must transfer load to suitable framing or masonry using compatible blocks, spacers, flashing, and fasteners.
Protect the cable and connector
Label and disconnect only where appropriate, prevent installers from pulling the cable through sharp unfinished openings, and keep connector ends dry and clean. If the old cable is brittle, pinched, painted over, or too short for the new wall build-up, replace it during the project.
Rebuild the entry seal correctly
A pass-through must shed water with compatible materials and a proper exterior drip loop. Caulk smeared around a cable after the siding is complete does not correct a damaged opening or missing mounting block. Coordinate the seal with the siding manufacturer's water-management system.
A brush plate finishes the indoor cable opening beside the power outlet. This shows the interior finish; the outside entry needs its own weather seal.
Installation and photo: Mann’s Starlink Contracting · View full photo ↗Inspect and test after completion
Confirm that the dish has not shifted, fasteners are secure, cable supports do not deform the new siding, the entry remains dry, and the app shows expected alignment and obstructions. Photograph the finished attachment for warranty and maintenance records.
See how this works on a real property.
Mann’s Starlink Contracting is Caleb Mann’s installation business. Caleb also created StarTether to help Starlink owners understand their connection. Mann’s serves an 11-state region from Campbellsville, Kentucky; confirm your address before scheduling.
Confirm with the official source.
Check the instructions for your exact kit, accessory, and service plan before making a hardware or account decision.
Starlink Help Center ↗Suggest a correctionRelated guides
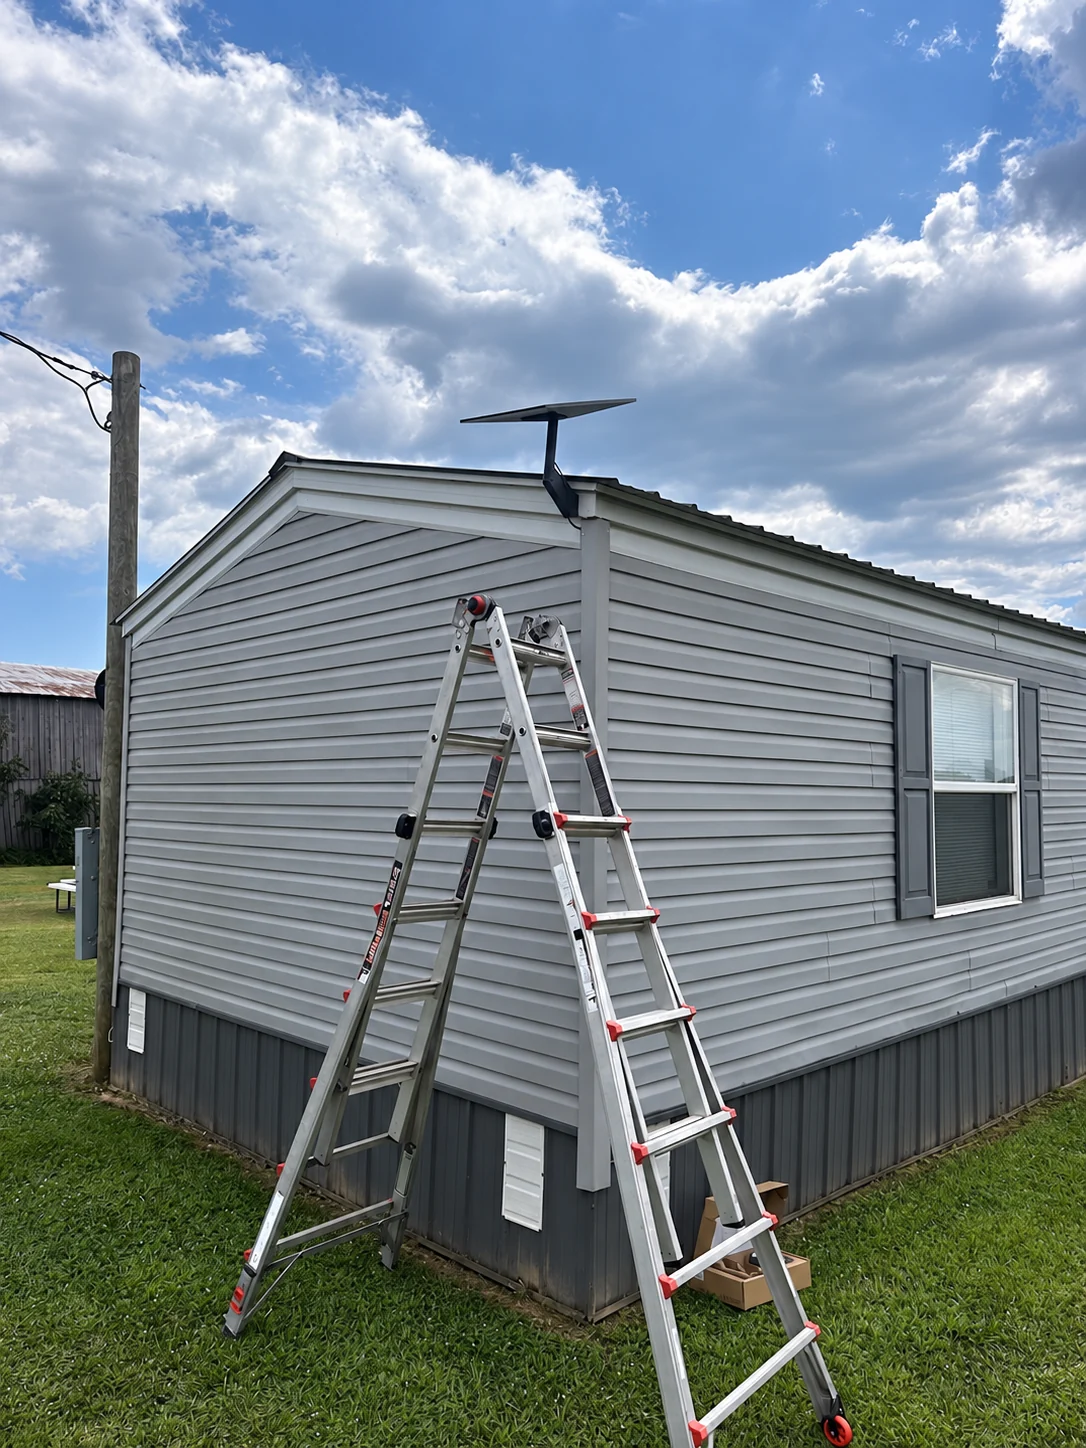
Starlink Installation for Renters and Landlord-Owned Properties
Plan written permission, reversible mounting, cable entry, equipment ownership, service responsibility, and removal before installing at a rental.
2 MIN READ ↗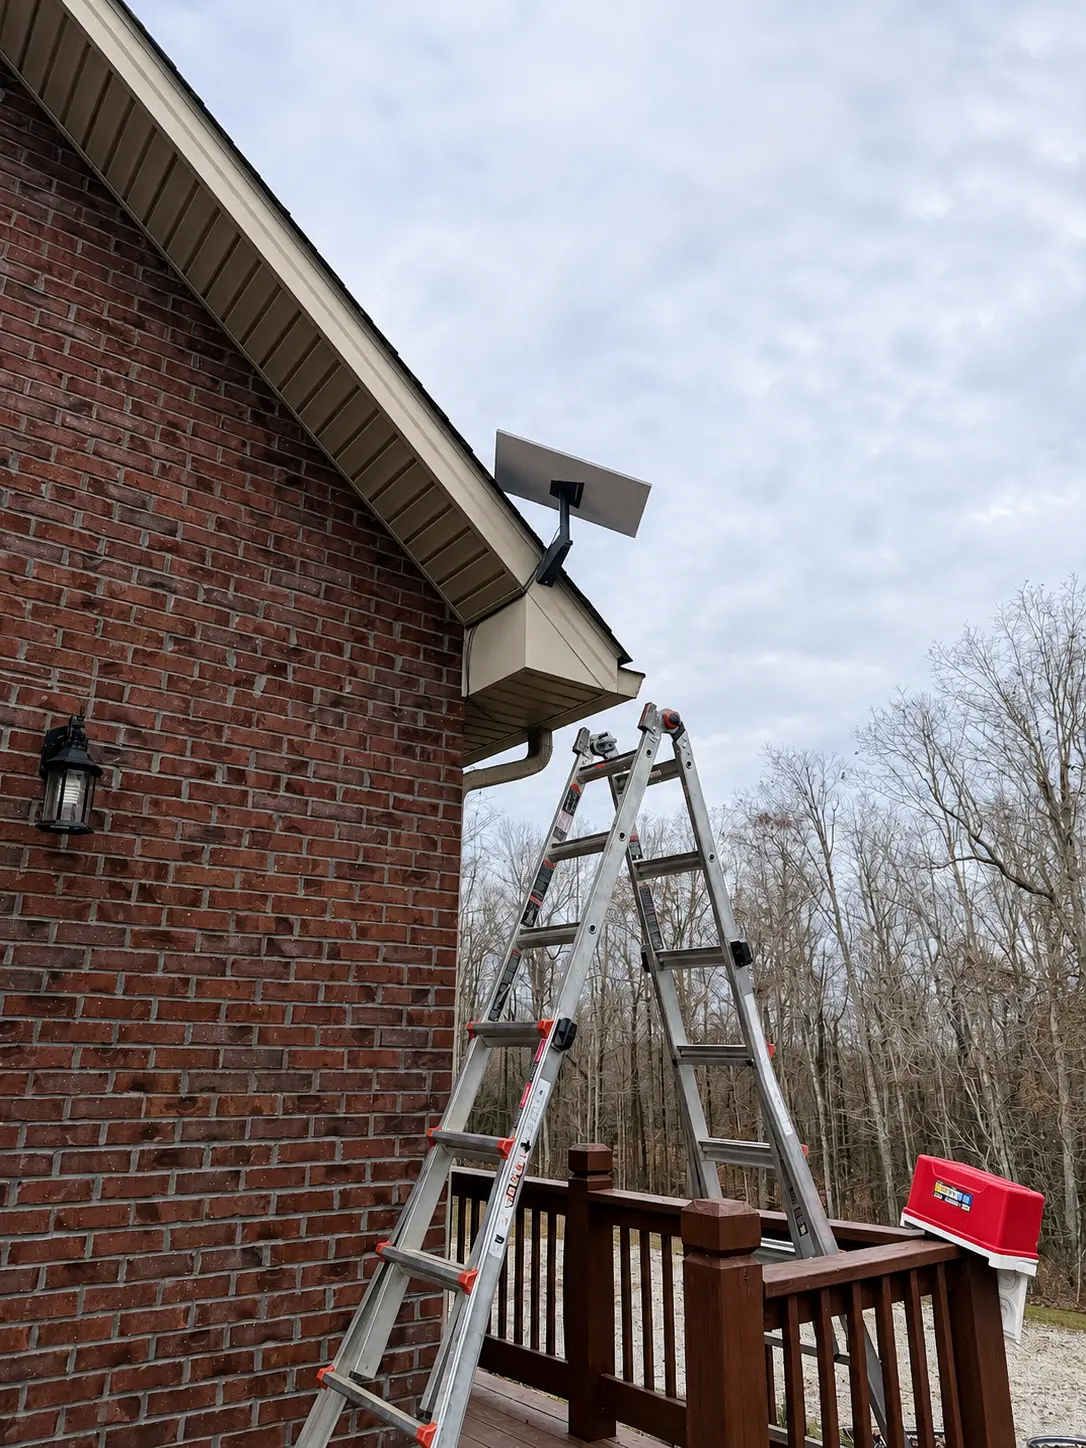
Painting or Repairing a Home Exterior Around Starlink Equipment
Protect the dish, mount, cable, connectors, labels, entry seal, and service performance during exterior painting or repair.
2 MIN READ ↗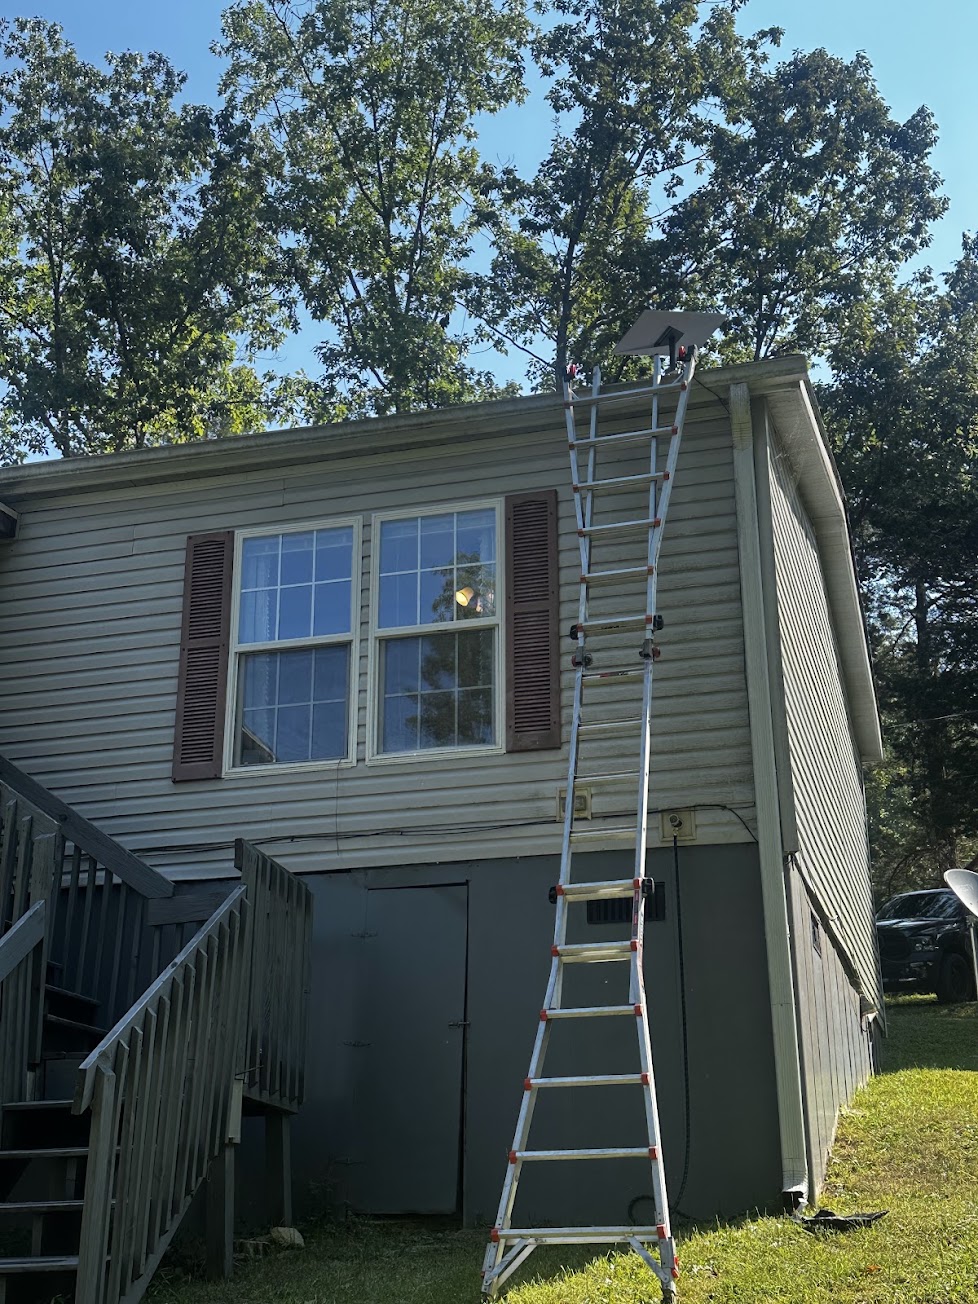
Moving a Starlink Dish After Trees or Structures Change
Reevaluate obstructions, seasonal growth, cable length, mount condition, and router placement when the property changes around an installation.
2 MIN READ ↗